


Do I Really Need Aluminium Profiles For My LED Strip Lights
Posted by Navdip Gahir on 28th Jul 2025
LED Strip Lights are a great way of adding a wow factor to your home, without much effort - just a run or two of tape here or there and the transformation can be pretty significant!
However, one area that most people neglect are Aluminium Profiles.
In short, they matter, for lots of reasons, that we’re going to discuss here.
What Are Aluminium Profiles?
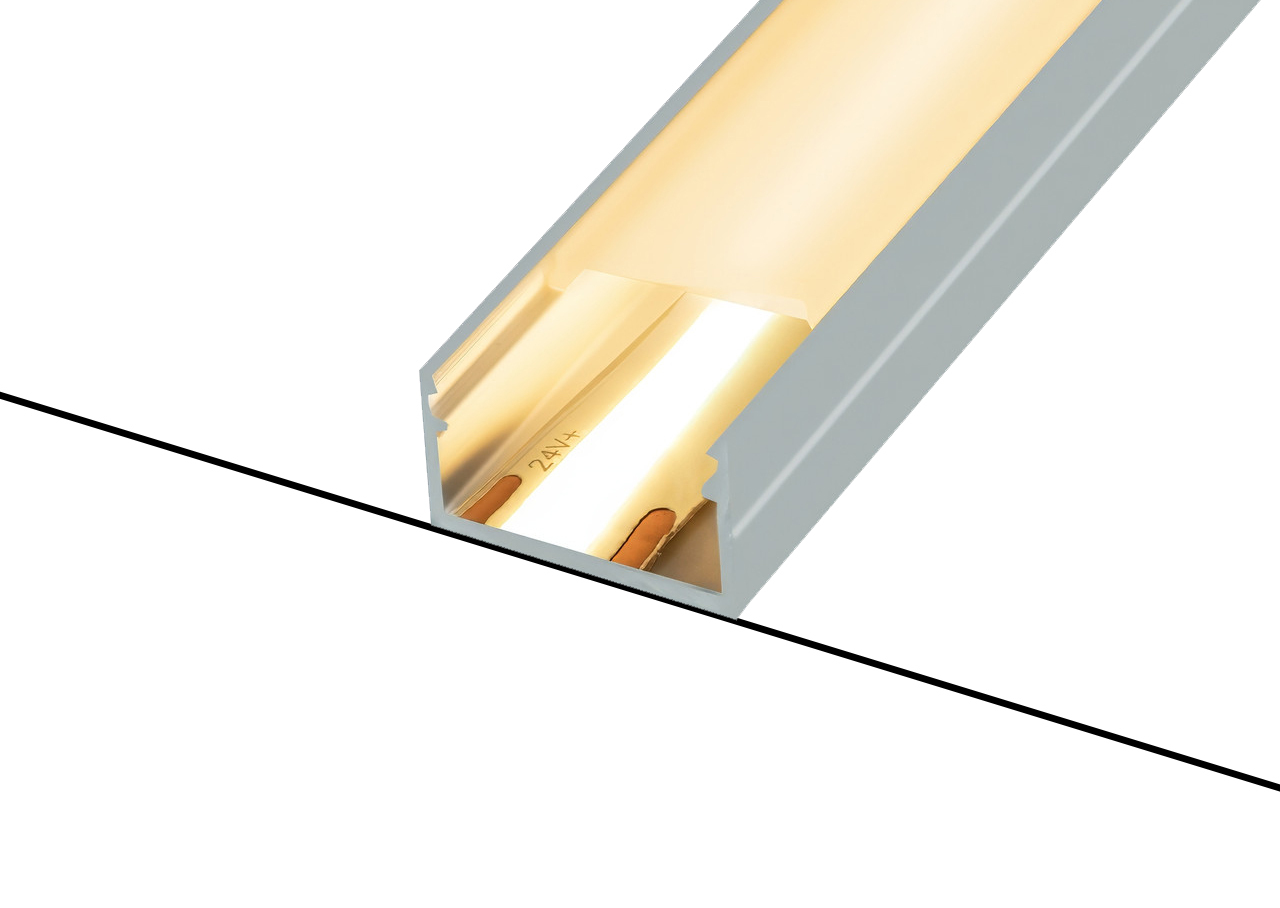
Profiles are essentially aluminium housings for your LED tapes. In most cases they also come with a diffuser that clips into place, which, as the name suggests, diffuses the light to reduce any dotting you might get. This is less of a factor now that COB tapes are so popular.
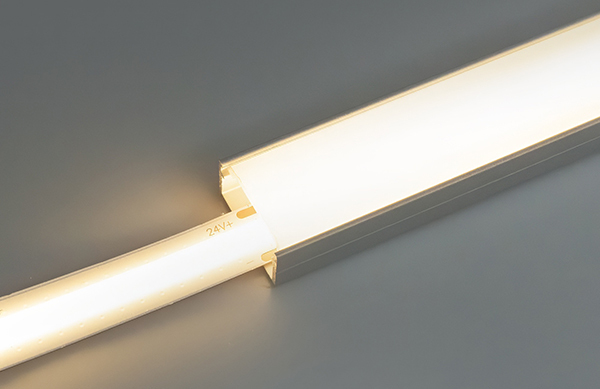
They hold your tape in place, hide the LED chips, and spread the light more evenly, coming in various forms such as surface mounted, recessed, corner and plaster-in styles.
Crucially, they also help prolong the life of your LED tapes, by acting as a heat sink for them, drawing heat away from the LED chips, and reducing wear and tear!
Why Should I Use Profiles In A Media Wall Setup?
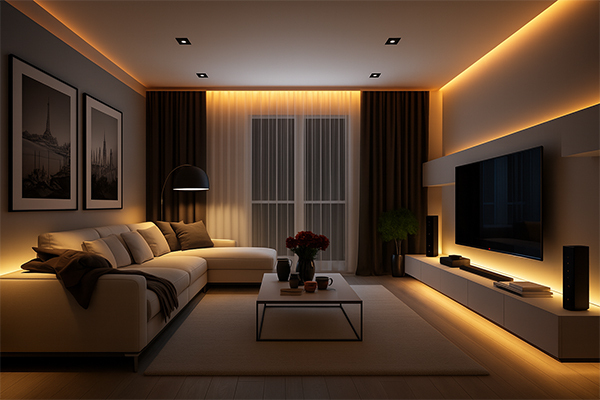
Lots of reasons! Here’s some of our favourites.
- It gives you a seamless, professional finish - you won’t have any visible dots, and no adhesive sagging. Just clean lines and smooth lighting.
- It extends the life of your strip lights - the aluminium material dissipates heat, drawing it away from the chips themselves, preventing wear and tear, prolonging their life by up to 50%!
- Diffusers improve light diffusion - frosted diffusers blend the light from each individual LED chip into one seamless beam of light, though this is less of an issue with COB tapes. We’d still recommend doing this for spaces where your strips will be visible though!
- It protects against dust & grime - this is especially handy if you’re installing them in tight spaces like inside panel gaps, and helps keep them performing at their very best!
- It can hide both the strip and wiring - there’s no exposed tape, which is a better look when the strips are powered off, and when used with end caps, they give you a super tidy finish with cables neatly hidden away.
When You Can Get Away Without Using A Profile
Of course, it’s not absolutely necessary that you use a Profile with every installation.
If for example, your tape is completely hidden away, like it would be if you installed it behind your TV, then you don’t really need a profile.
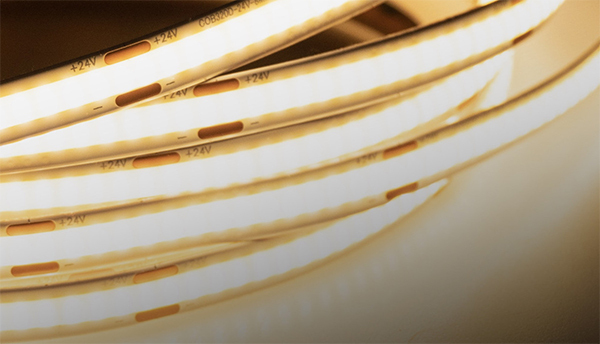
As mentioned before as well, the use of a diffuser is less critical now that COB tapes have overtaken SMD based strips in terms of popularity, as the dotting effect is way less obvious.
With that said, using Profiles would still extend the life of your tape due to the heat dissipation.
In addition to that, Profiles also make future maintenance easier - let’s say you develop a faulty segment of tape and need to change it out. Profiles ensure that a) you can protect your wiring when removing your old tape, and b) the new tape can slot into the exact same place your old tape was in.
Which Profile Should I Use?
This depends on where you’re planning on using it. We’ll go through the different types here, and explain where each one is best used.
Surface Mount Profiles
These are profiles that mount directly to whichever surface you’re sticking them to, without any prep needed to get the surface itself ready. You can either use brackets, or you can use silicone to fix them on.
We’d recommend these for when your tape will be hidden, as they do tend to stick out. They do also work brilliantly (as long as they fit) in panel gap installations.
Recessed Profiles
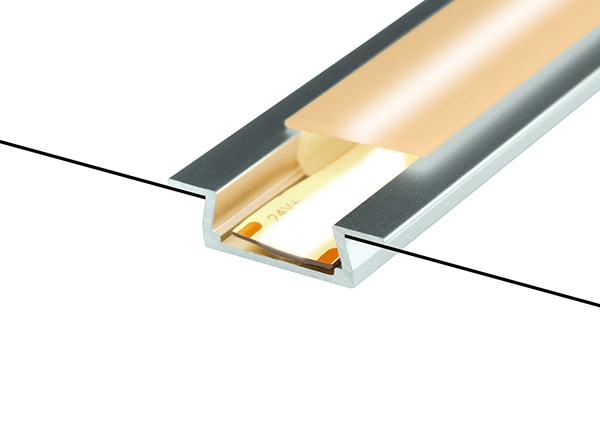
These profiles are ideal for slotting into channels in your walls, panel gaps or shelf edges. They sit inside the channels, and give you a streamlined finish without anything sticking out.
We’d advise using these when you’re after a clean, minimalist look, where your tapes will be on show.
Corner Profiles
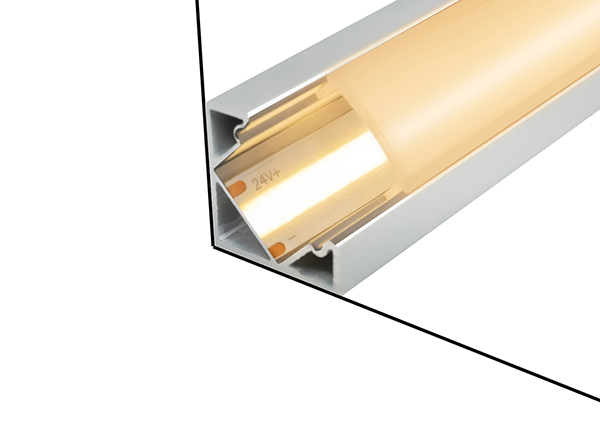
These gems sit in spaces where you want your tape to be at 45 degree angles, and as the name suggests, are built for corners. Using normal profiles in this sort of space would result in a pure upwash or front facing tape.
We’d recommend these profiles for alcoves and shelves.
Plaster-In Profiles
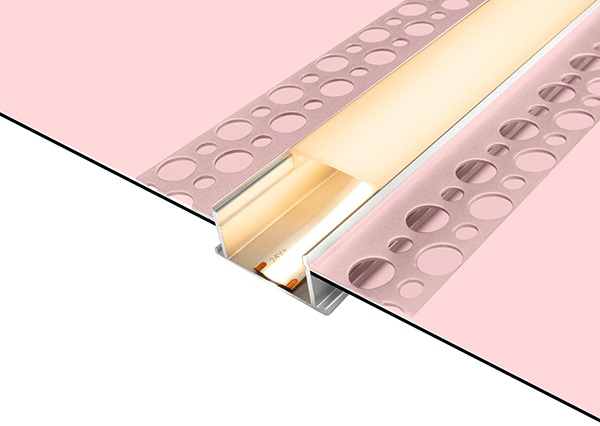
For truly bespoke setups, you’ll want to opt for plaster-in profiles, though do be warned - this requires advance planning before your house gets skimmed!
As the name implies, plaster-in profiles install directly into your wall before your plastering goes in. This gives you a truly integrated, pro-level installation, where your strip lights are integrated in your wall.
Needless to say, this profile only applies to those who are beginning their renovation projects, but undoubtedly produces some of the best looking end results!
Installation Tips
So most profiles come with mounting clips that allow for neater installations. They simply screw into your surface, and then the profile itself clips into the brackets.
Although we sell profiles by the metre, they can be cut to whichever size you need by simply sawing it! As they’re made from aluminium, they won’t put up too much of a fight.
The last piece of advice we’d give you is to install your profiles before you install your strips. The last thing you want is to get tangled up in core cable whilst trying to install your profiles.
Ready To Build Yours?
As always, our team are on hand to give you any assistance you need for your strip light setup, whether you need quotes, advice, guidance or anything else.
Give them a call on 0116 321 4120, or send an email to sales@wled.co.uk.
Don’t forget that you can also reach out by DMing us on Facebook or Instagram. If you want to keep up with all things LED lighting, you can also check out our YouTube channel.