How To Install LED Tube Lights In 7 Steps
Posted by Richard Clarke on 3rd Jan 2013

For as long as halogen bulbs have been the go to solution for domestic light bulbs – fluorescent lighting has had the same stranglehold over tube lighting.
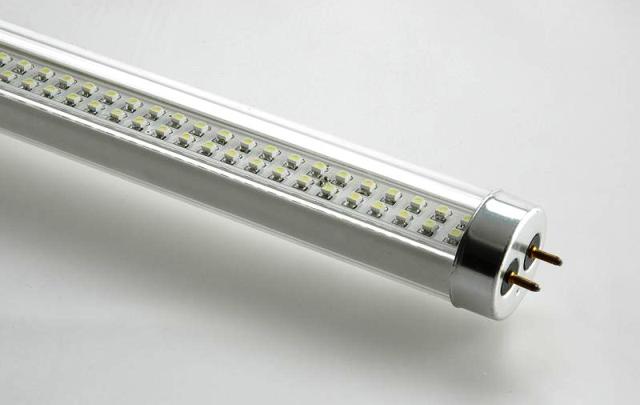
LED tube lights however, provide a better end product.
Why change to LEDs? Well for a start, LED tubes use approximately 40% less energy compared to fluorescent tubes. On top of that, they also last 2 times longer, averaging a lifespan of around 50,000 hours.
Better yet though, is that LED tubes don’t contain any mercury unlike their fluorescent counterparts. This means that they are safer, and much kinder to the environment, as mercury can’t be disposed of through conventional methods.
LED tube lights can be used in your existing fitments, but in order to do so you’ll need to modify the fitment. The process is straightforward and doesn’t take long, but if you don’t feel comfortable carrying out the process, you may want to get in touch with a qualified electrician.
Step 1
Fluorescent fitments come in 2 types – electronic fitments, or a starter with a magnetic ballast. If you’re not sure which type you have, there’s an easy way to check your ballast type using your smartphone camera!
Simply start your camera, point it up to your light and take a picture. If it flickers then you have a magnetic ballast. If it doesn’t flicker, then you have an electronic ballast – it’s that easy!
Step 2
Disconnect the fitments from the power supply and carefully remove the fluorescent tube.
Step 3
If your fitment has an electronic ballast, remove the electronic ballast unit. Failing to remove the ballast can potentially damage the LED tube.
Disconnect the wires from the ballast, remove the unit and connect the loose wires to form a circuit. Ensure the connections are secure and properly insulated.
Step 4
If you have a fitment with a starter and magnetic ballast, the starter must be removed. Removing the ballast isn’t necessary unless you are replacing more than one LED tube in the same fitment.
In that case, remove the ballast and connect the loose wires to form a circuit, making sure all connections are secure and insulated.
Step 5
Your LED tube has a live connection at one end and a neutral connection at the other. Ensure the wires in the fitment match this.
Connecting live and neutral wires to the same end of the LED tub will result in a short circuit.
Step 6
Carefully fit your brand new LED tube. The tube should match the size of your existing fitment. We stock the T8 tubes in 2 foot, 3 foot, 4 foot, 5 foot and 6 foot.
Step 7
Reconnect the fitment to the power supply. Switch on your new LED lights!
If you have any other questions about fitting your new LEDs, or anything else that you’re not sure about, give us a call on 0116 321 4120, or email us at cs@wled.co.uk.


